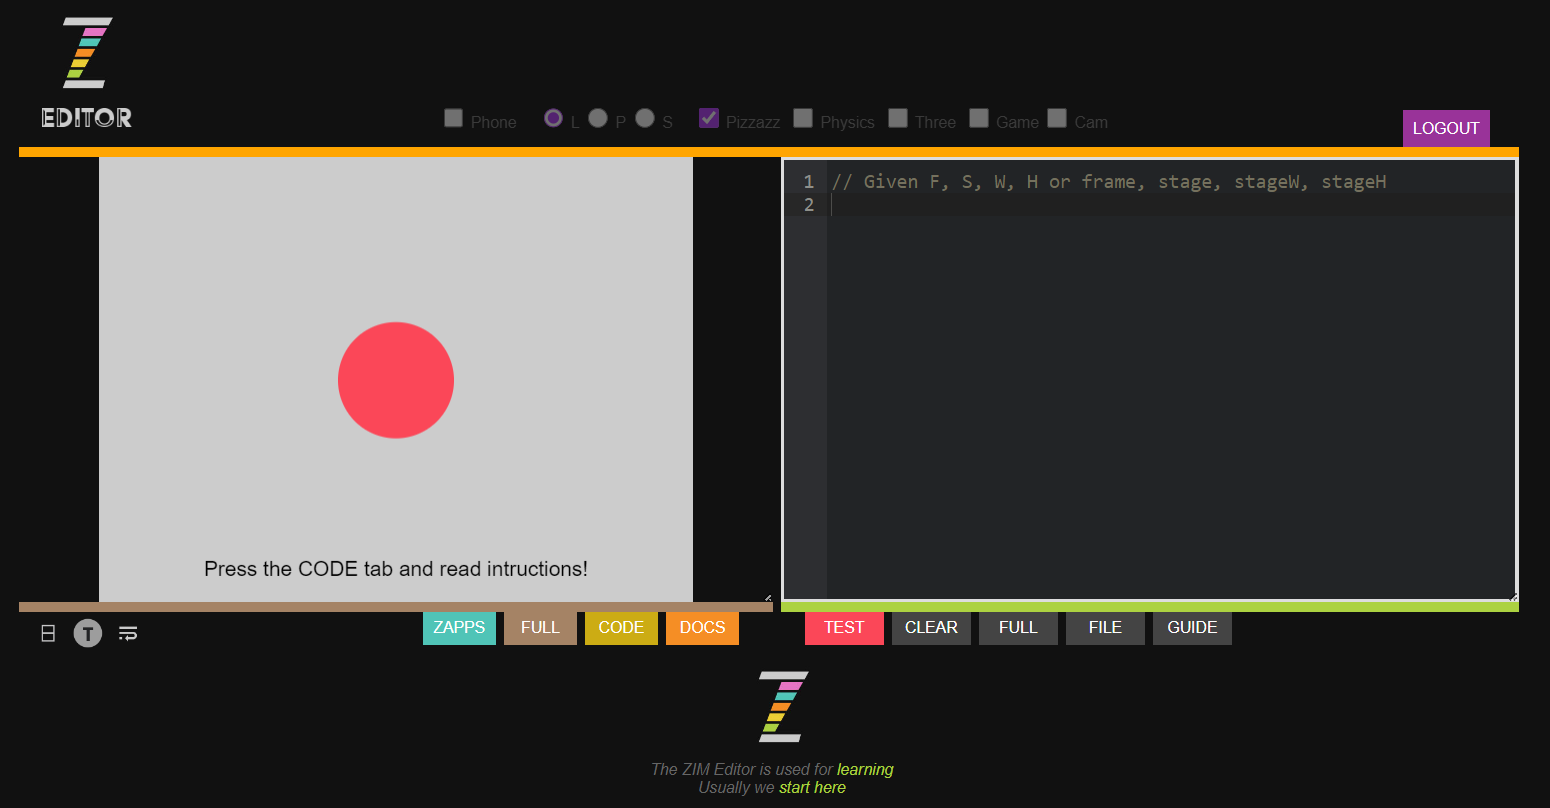
The ZIM Editor at https://zimjs.com/editor is a great way to see, make and share ZIM examples. We call them Zapps!
Below we will give an overview of the Editor. There is also a GUIDE button at the bottom right of the editor with handy tips and steps. Here are a few intro videos:
- https://www.youtube.com/watch?v=xLrL_ultB3Q - Bubbling Video
- https://www.youtube.com/watch?v=y4u6ovnRNgI - Promo Pages
- https://www.youtube.com/watch?v=rKE-xbu2x1k - Start with ZIM

ZAPPS
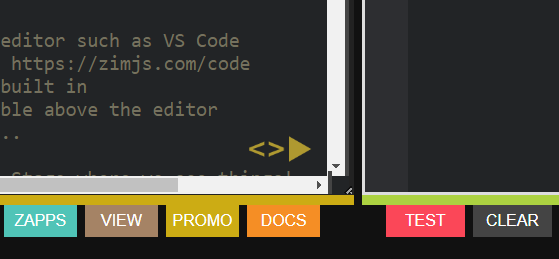
You can press the ZAPPS tab to see examples. Press the + to fave a Zapp. Press the EXPO button on the bar to see thumbnails. Once you have loaded a Zapp, press the CODE to see the code. Use the yellow arrow to copy the code over to the editor side for you to adjust. See the EDIT section below.
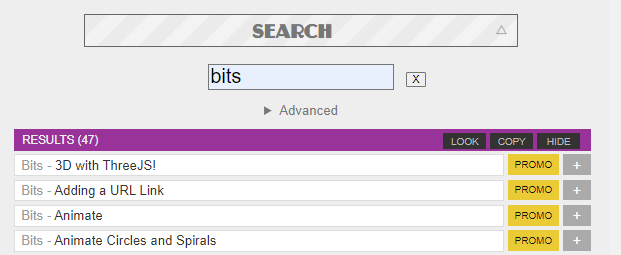
The SEARCH bar opens to let you search the Zapps - just type and the results will update live. There is an advanced section to to filter results. Thanks @LucasJoel1 for coding the search.
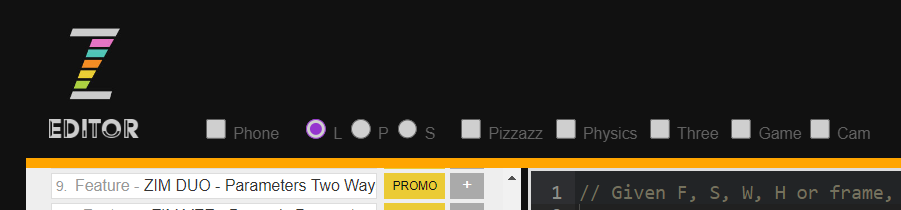
SETTINGS
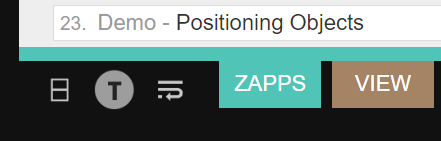
At the bottom left you can change orientation, text color and wrap. We will describe things assuming the left and right orientation. When editing, once you TEST, you can choose at top what dimension, orientation and helper modules you want.
EDITING
The right side is the edit panel where you can add any ZIM code. You do not need the Frame tag as the editor assumes you are in a Frame ready function. You can set the Frame color with F.color = yellow; // etc. See the GUIDE and then SPECIAL for a few more special setups you can do for the frame as well as tips on anything in the Editor.
Press the TEST button to see the results of your code in the view panel at left. You can also use CTRL S for save - this will initially show a note that Save is only a shortcut to test your work - it does not actually save - see LOGIN below for how to do this. Use F11 to see the editor in full window and F11 to toggle back out.
LOGIN
At the top right you can login - which takes you to a login or signup panel. When you login you can save your files and share your files - so please, sign up and login now to follow the rest of the post.

FILES
Use the FILE button to open the file management system that lets you create new files and save them as well as LOAD files that have been saved. Once you save files they will also appear in your ZAPPS list on the left.

LISTS
Your files show in the ZAPPS SAVED section (along with Faves). Press the COPY button on the FILES, FAVES or search RESULTS bars to start a LIST. Your lists will show up under a LIST section once you have a list. The lists can be shared with others using the links from the SHARE button.
At any time, you can LOOK at lists, faves, demos, etc. and copy lines from these into your lists.
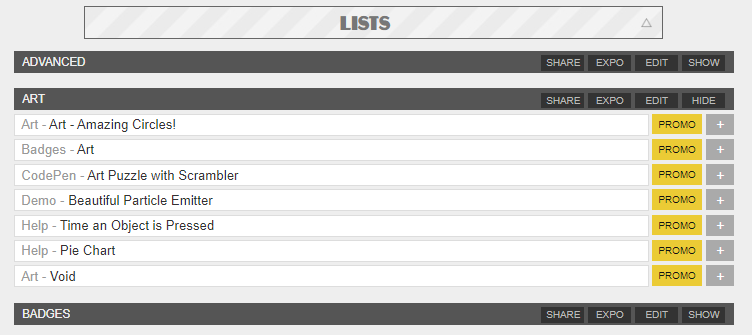
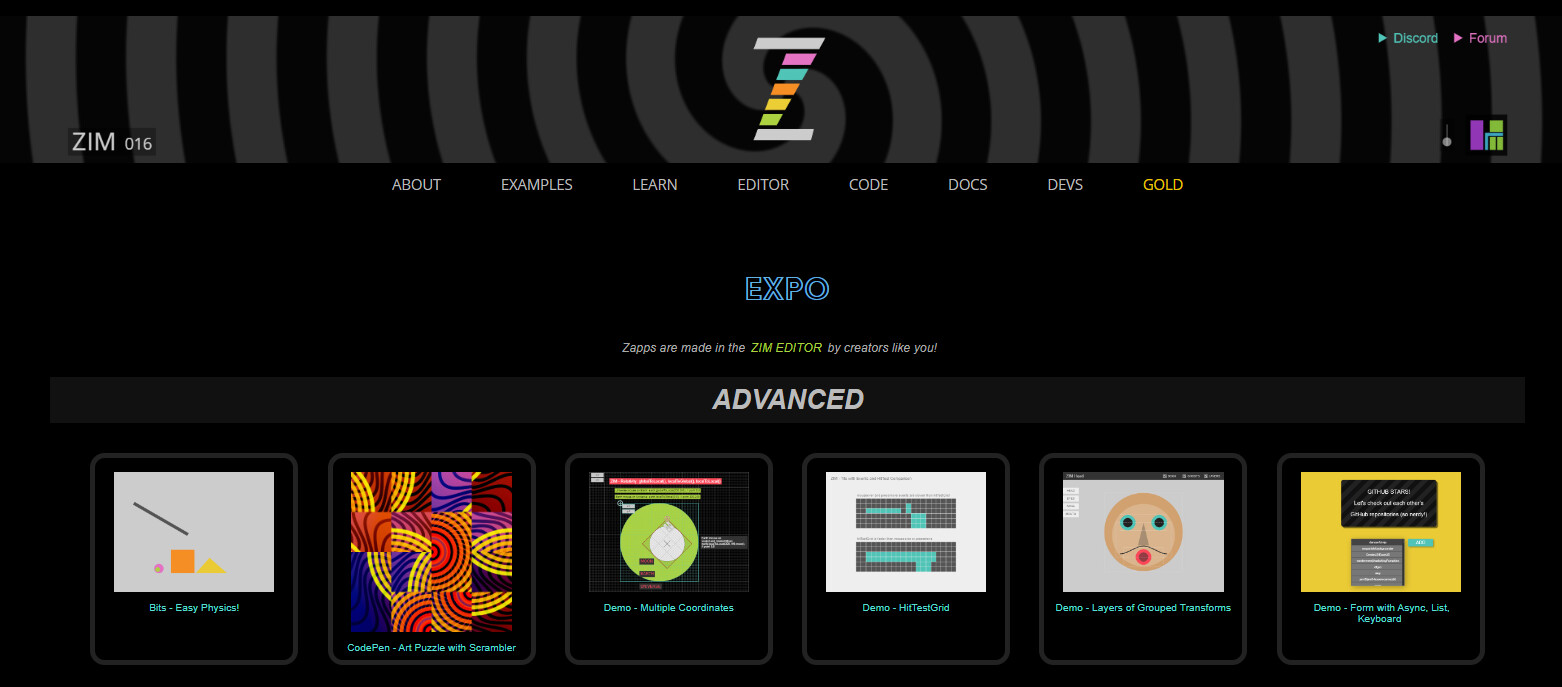
Any of the files will have a PROMO page that you can share on social media, etc. There is also an EXPO button for each list. Once there, press LAUNCH EXPO PAGE and this URL can be shared too.
EDUCATIONAL
When a list is shared others can copy files to their lists. This has excellent educational potential. There are also ways to share where the code cannot be copied encouraging a student to type the code themselves. Here is a video:

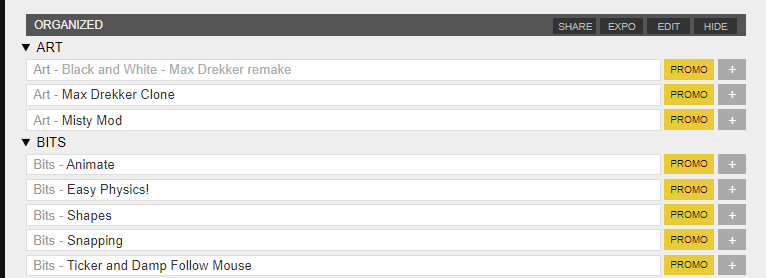
HTML tags can also be used in the lists to provide headings or collapsible sections. Note the use of the details and summary tags. Also, a - added to the start of the line will hide the line.
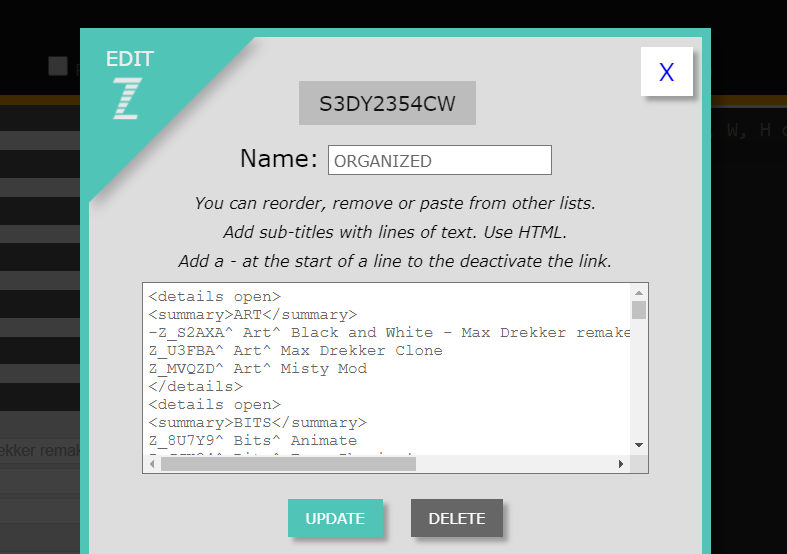
It should be noted that once a Zapp is added to a List the title will remain how it is in the EDIT pop-up. It is no longer connected to your FILE management panel. This allows you to change the prefix and title as you need for your list.
We would like to thank @karelrosseel82 for his enormous effort in testing and providing functional recommendations for both the main Editor and the ZIM Kids Slate Editor. There are still a dozen things he would like but maybe we will get there!